Wow with Wallpaper: How to Do It Yourself
Dive into the world of DIY home decor with a project that was both exciting and budget-friendly – applying luxurious peel-and-stick wallpaper to give a room a fresh, stylish look.
As an interior designer, I'm always on the lookout for creative ways to transform spaces without blowing the budget. Recently, I decided to dive into the world of DIY home decor with a project that was both exciting and budget-friendly – applying luxurious peel-and-stick wallpaper to give a room a fresh, stylish look.
Picking the Perfect Wallpaper
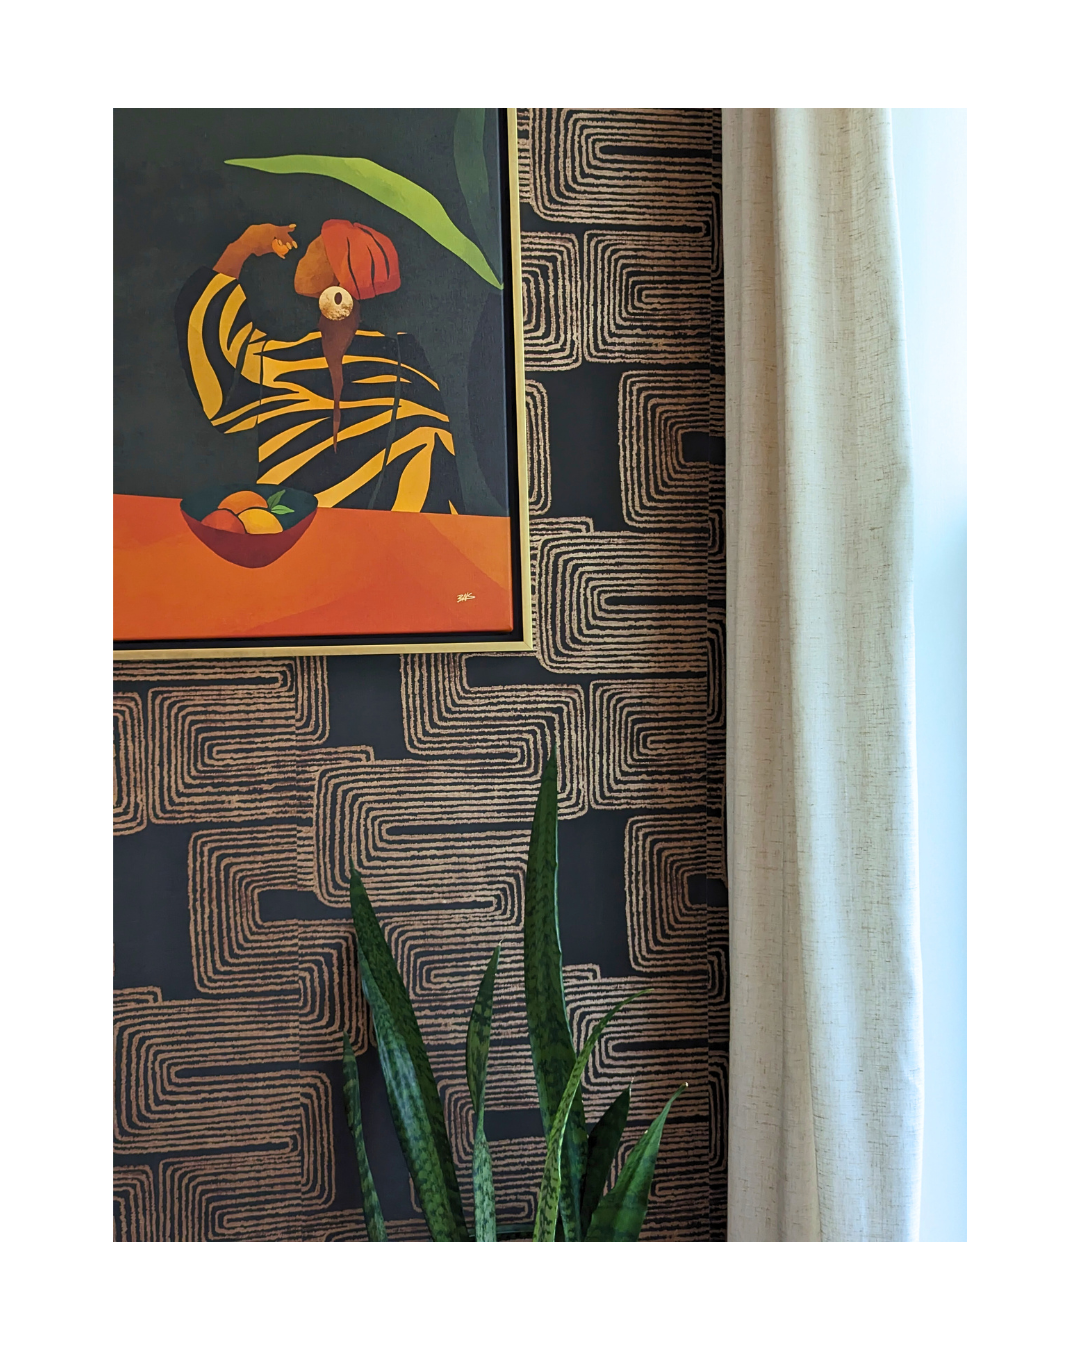
The first step in this adventure was to pick the perfect peel-and-stick wallpaper. With so many gorgeous designs to choose from, I was like a kid in a candy store. After some contemplation, I settled on a stunning and luxurious black and gold geometric pattern by Nikki Chu that perfectly matched the room's vibe. Remember, the key to any successful DIY project is selecting a design that resonates with you and complements your existing decor.
Gathering What You Need
Before starting, I gathered all the necessary tools:
Peel-and-stick wallpaper rolls
Tape measure
Level
Box cutter
Pencil
Smoothing tool or even an old credit card
Loads of patience and a dash of positivity
Setting Up Your Workspace
Preparation is key, so I cleared the area around the wall I was working on, removed any obstacles, and gave the wall a thorough clean. A clean canvas makes for a smoother application.
Measuring and Cutting
With my wallpaper in hand, it was time to get to work. Using a tape measure and a level, I carefully measured the wall and marked the dimensions on the back of the wallpaper. Precision is essential for a good fit. However, don't stress about perfection; a minor misalignment won't be noticeable once everything's in place.
Peeling and Sticking
I started at the top, ensuring the wallpaper lined up with my level guide. Slowly, I peeled off the backing while gently smoothing the wallpaper onto the wall with my smoothing tool. This part is strangely satisfying; it's all about enjoying the process and watching your vision come together.
Trimming the Edges
As I worked my way down, I encountered obstacles like outlets and corners. To tackle these, I used a box cutter to make precise cuts, leaving a slight overlap to ensure a seamless finish. Again, don't sweat the small stuff; minor imperfections can be hidden in the seams or worked into your design.
Embrace the Character
Remember, a DIY project isn't about chasing perfection but about adding your personal touch. A tiny air bubble or a small wrinkle can give your project character and tell the story of your DIY journey. So, relax, take your time, and savor the quirks that make your project uniquely yours.
Step Back and Admire
After all the peeling, sticking, smoothing, and trimming, I finally stepped back to admire my handiwork. The transformation was incredible. The room had gone from plain to posh, all thanks to a bit of peel-and-stick wallpaper and my DIY spirit.
In a nutshell, applying luxurious peel-and-stick wallpaper was a rewarding adventure that allowed me to infuse my design sensibilities into a space. Armed with a level, tape measure, and box cutter, I took on this project with enthusiasm, knowing that perfection was not the goal. Instead, I embraced the journey, celebrated the quirks, and had a blast creating something stunning in my own style. If you're looking for a wallet-friendly way to spruce up your space, consider embarking on your own peel-and-stick wallpaper journey—you'll be thrilled with the results!